I cut, fitted and laid down strips of 6 mm plywood to reinforce the bottom where we will be stepping. It proved harder than I expected. I made mistakes, and ripping long narrow pieces with a handheld jigsaw was tough. Then gluing the strips down was hard: I couldn't use nails or screws which would poke through the bottom, so I had to work with many stones to weigh the strips down. Fortunately there's no shortage of stone in our village and property. Photo number two shows the last stone on the tip on one strip which needed extra gluing.
I then set nails, puttied, sanded and gave the insides the first coat of epoxy. The wood looks beautiful, but as before I have to use paint: varnished epoxy would not do well in the harsh Mediterranean sun. Photos one and two show the result.

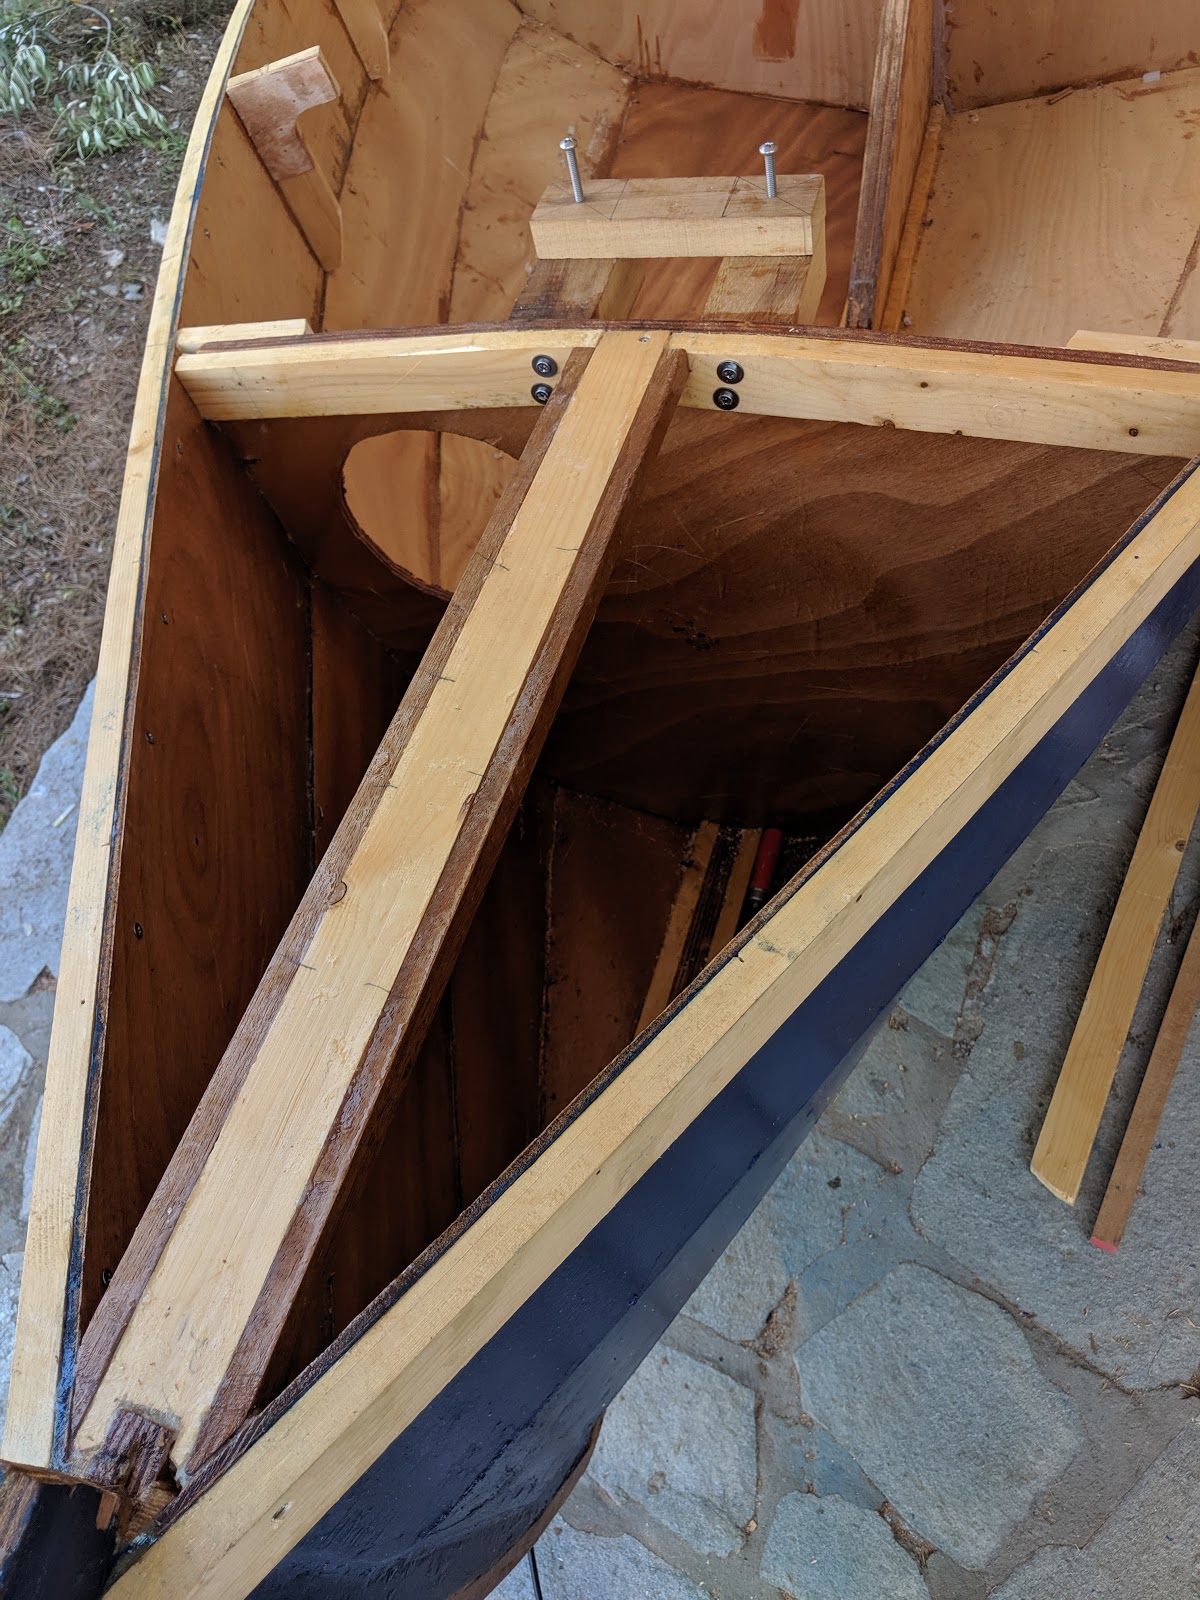
 The next step was the carlins that frame the side decks. I had four meter boards that fit the length with only two inches (5 cm) to spare. I made shallow saw cuts to help the bending, cut one end at the appropriate compound angle, fit the carlin with clamps and the marked the end and cut it at another compound angle. After a fair bit of rasping it all fit together. Repeat for other side. I drilled recessed pilot holes, glued and screwed the carlins on, then filled the screw holes and the saw cuts (second photo).
The side decks are two pieces each, marked, cut and butt-joined underneath. Before laying them on I glued wood blocks to the sides to accept thole pins: per local practice I intend to use them with loops of line on the oars that I will make later on.
 The last two photos show the side decks and foredeck in place with epoxy compound and nails. There will be more nail setting, puttying, sanding and finishing, but the carpentry on the boat is done. Centerboard and rudder are already cut and need laminating. Mast and oars remain. Hopefully all will be done before the end of summer.