Showing posts with label insides. Show all posts

Friday, May 31, 2019

Benches

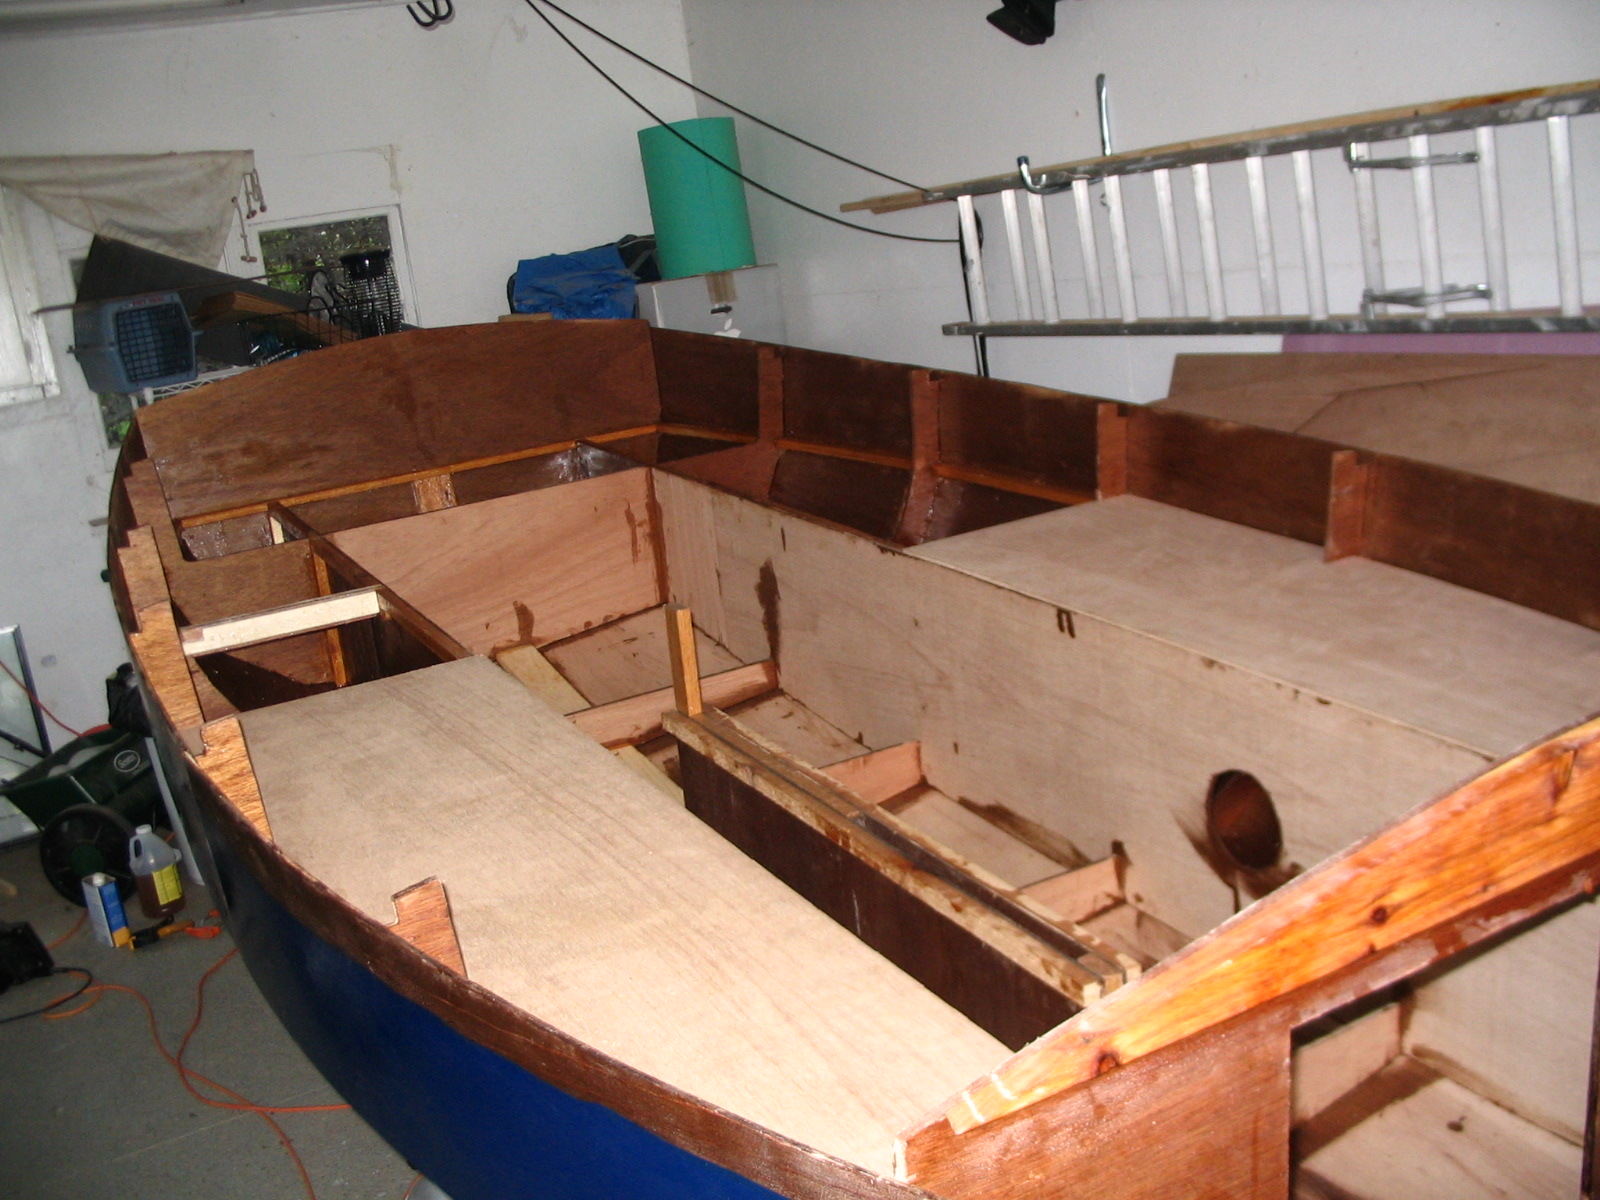
After flipping the boat a first put in cleats (10 in total) to support the aft bench, rowing bench and the outer edge of the side benches. My carpenter friend had to rip some at three different angles. I had to sink a few screws into my beautifully finished transom and sheer strakes until the epoxy set, and will have to fill the holes and touch up the paint later. Then I cut all the bench tops and side bench risers and dry fit them, as you can see in the first and second photo.


In the second photo you can also see the fore bulkhead (although the wide angle lens makes it look small) with the white inspection port cover. I cut the hole with the bulkhead in place, cutting through 24 mm plywood with the jigsaw held vertically.  It would have been far easier to cut it before I built the hull but I wasn't sure where it should go, plus I hadn't yet bought the port cover. Be that as it may, I cut the hole without any disasters.

Then I cut, glued and nailed fourteen other cleats for the side bench tops and risers. In the last photo you can see all 24 of them, and if you look carefully you can spot the access ports I cut in the bench risers for reaching into the storage area under the benches.  Just simple holes, no doors or removable ports, for getting to life jackets, bilge hand pump, air horn, etc. I found from experience that hinging locker doors don't protect gear from the water and porthole covers can easily be lost.

Next steps will be to epoxy the insides and undersides of all benches and fill the rowing and aft benches with styrofoam for flotation before nailing and gluing everything in place.

I would then still have to:

  • put on rubrails
  • build a king plank for the foredeck
  • build the mast partner
  • cut and lay on the foredeck (after epoxying the insides)
  • reinforce the inside bottom of the boat with extra strips of plywood
  • build supports for the side decks
  • put on side deck carlins
  • cut and lay on the side decks 
  • put down a mast step

After all that it will be time to epoxy and paint everything white, and deal with spars and rigging. I can see the end but it will be a lot of work.

Sunday, October 23, 2011

More inside work


In the past two weeks I have been working away, trying to do as much as possible before serious cold sets in.  I cut, fit and glued side deck knees, seen on the left, which are awaiting 1x2 boards (already scarf-joined to just over 11 feet) to be screwed on their narrow faces.  The knees, inwales and boards will provide the base for 6-inch-wide side decks.

Then I made sure I do whatever needs to be done before the foredeck goes on.  It included extra beams between the two fore bulkheads, and reinforcements for the mast hole and for the halyard and snotter cleats (I'll explain later).  These are in the second photo, which shows the fore-end.

I also needed to put on a mast step for the fore (main) mast.  I had to calculate its placement from the rake angle of the mast (trigonometry again).  I glued two pieces of lumber on each side of the keel, and then laminated two square pieces of plywood and cut a two-inch round hole in them.  I finally screwed and glued all together (third photo).  I did the same for the mizzen mast, just next to the aft end of the centerboard case.

Then I laminated two oblong pieces of plywood (3/8 and 1/4 inch thick, or 9 and 6 mm) to make a rowing thwart, which will also be the mizzen mast partner.  I cut a 2 1/4 inch hole in the thwart and attached it to the benches in the right position (again I had to place the mast partner and mast step holes so the rake of the mast is correct).  The thwart is also supported by an oak board that protrudes from the centerboard case.  That's in the final picture.
 
I also glued together two pieces of oak molding of different widths to make rails for the sliding door of the fore locker.  These will have to be put on before the foredeck goes on, but the bottom one will be finally glued in place after all the surfaces are finished. 

Finally, I cut all the pieces of centerboard and rudder.  They are ready to laminate and finish (sometime in the winter).

That's a lot of work, and good work if I may say so myself.  Why does it feel like I'm not making progress?  I suppose because of unrealistic expectations.

For more progress, keep checking 176inches.

boatbuilder


Monday, September 12, 2011

Benches and lockers


The past week I continued to work on the inside of the boat: seat tops and locker doors.  On the left you can see all the pieces (10 of them) all fitted quite precisely: four long seat tops, three hinged flip-up locker doors, and three backing pieces (between the doors and the sheer strakes and transom).  In the next photo you can see two of the brass hinges laid on for fitting.  There is still some work to do before putting on the hinges: another coat of epoxy on the insides of the benches, two coats on the undersides of the seats, and reinforcements glued on the undersides of the locker doors.  I just didn't feel like messing with epoxy for a change and concentrated on sawing.

I also cut the sliding door for the fore locker (see photo), which will be between the fore bulkheads.  It will slide on wooden runners set horizontally into the main bulkhead.

Finally, I designed, drew and cut the three distinct pieces of the rudder: the piece attached to the tiller and transom, the pivoting blade that will be in the water, and the jaws that hold them together.  It was very tricky (at least to me, with this being my first effort at boat design) to make sure the moving parts  pivot against each other, and I arrived at it without copying anybody else's specific design.  I will need to cut another identical set to laminate all together.  I will also have to decide whether to use lead or a bungee cord to keep natural buoyancy from flipping up the pivoting blade.  I am inclined to give dealing with molten lead a pass!

As for what comes next, you read it before: more smelly, messy epoxy coatings and gluings.

Until then,  I remain your friend
boatbuilder

Sunday, September 4, 2011

Seats and cabinetry


The last couple of weeks have involved putting the curves on forward bulkheads and transom, and working on the inside of the boat, something that is very picky and borders on cabinetry.  I am building three flip-up doors into the seat tops, which means putting in supports and framing, joints etc.  After cutting all the pieces from aspen (door frames), plywood (reinforcements) and pine (the rest), putting in all the notches, etc., I put one coat of epoxy on the the entire inside of the boat, except the bottom (too hard to reach for now, plus there's no hurry) and the outsides of the seat risers (also hard to reach, and I need to do a careful job since they will be visible and left unpainted, with epoxy and varnish).  In the process I had one more episode of the epoxy overheating and solidifying too early (yesterday was a very hot day).  So now I am keeping the epoxy containers in the fridge, at least part of the time.

I then cut seat tops (see above for forward half), except where the doors will go, and notched them for the frames.  This is harder than it sounds, since the frames are not exactly square.  I also made my first measuring and cutting mistake, which left a gap about 10 mm wide (about 3/8 inch) over part of one seat stringer, on the sheer side.  Not wanting to waste plywood, and given that I don't have much to spare, I will fill it with a thin sliver of ply and epoxy fillet.

Today I glued all the framing pieces (see detail from aft seat/storage area--the crosspiece is not in yet).  Next the inwales will be glued in.  Then the seat tops will be epoxied on the inside, and reinforced where needed.  After a second coat of epoxy on the inside of the seats, the tops will go on, including hinging the doors.  The next step will be braces for the side decks. 

Cheers,

boatbuilder