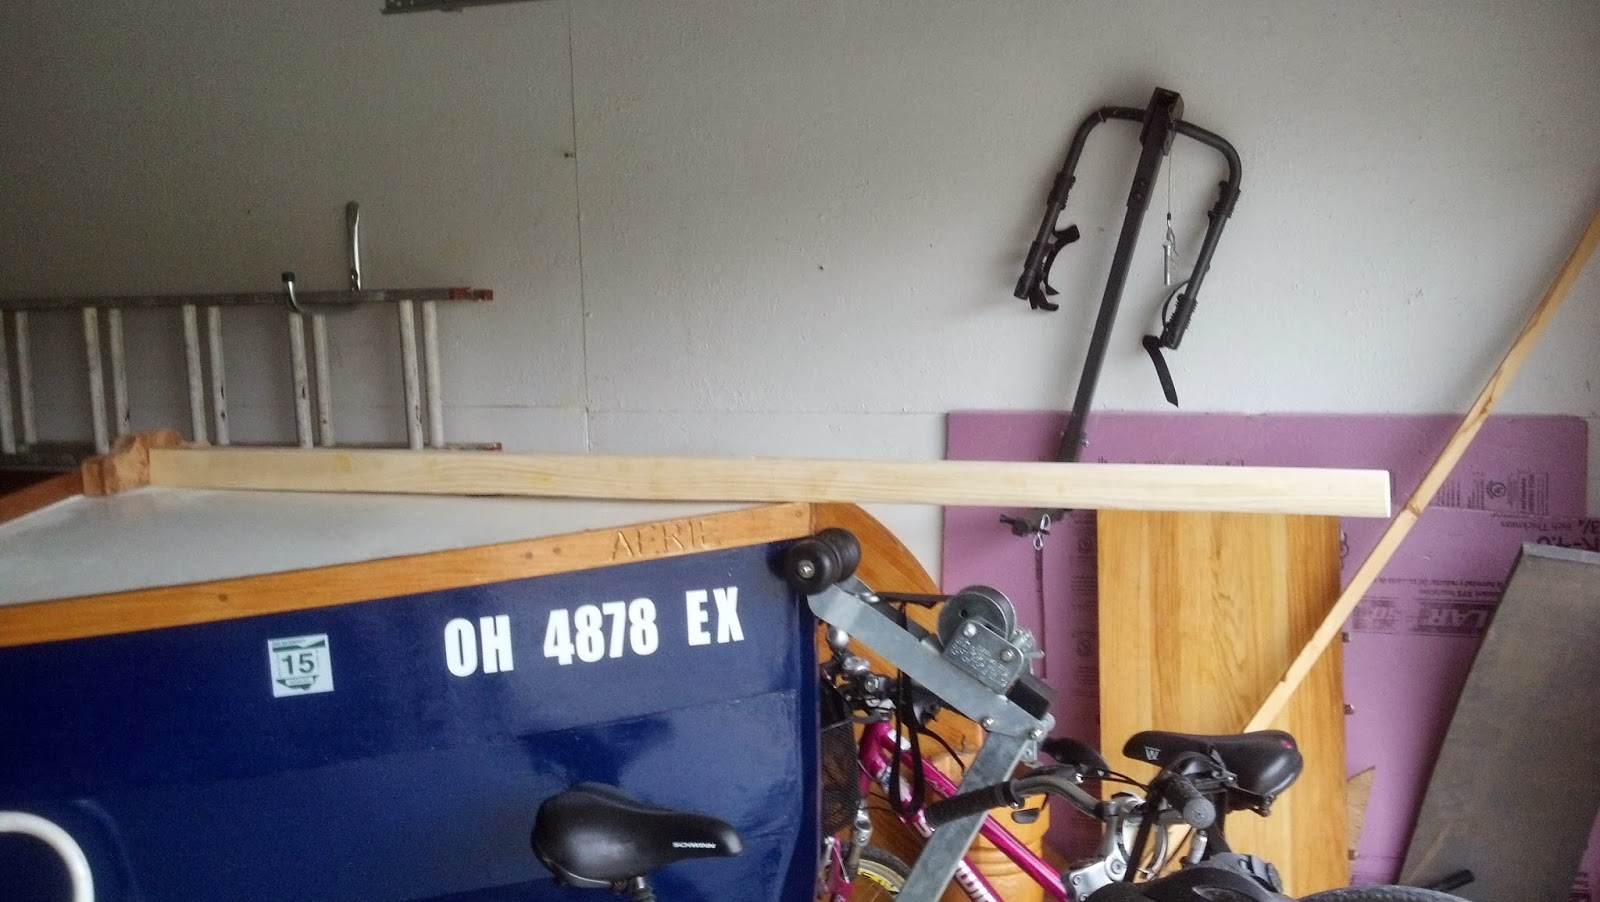
I bought SPF (spruce/pine/fir) 16-foot studs for their easy
availability and low weight, which is a higher priority than high strength and
stiffness, since the mast is stayed. Low
cost is a nice extra. I chose two that
were as straight and knot-free as possible.
Taking them home was a bit of an adventure, involving foam rubber, duct
tape, cinch straps, staples and a red rag, but all went well. Next I glued them together with epoxy.

I also cut and laminated the parts of the mast partner,
which may be sturdier than it needs to be but I wanted plenty of strength for
bolting to the bulkhead. The mast step
was laminated from a layer of cedar board and two of 3/8 inch plywood (second photo).
 Then I set up the table saw outdoors (I needed 34 feet of
space for the job, plus who wants to clean sawdust indoors), with my sturdy
sawhorses doctored to have supports level with the table saw. With a friend’s help I trimmed two sides to
achieve a 3-inch-square cross-section, then cut off the four corners into an
octagon. All standard procedure I have
used before.
Then I set up the table saw outdoors (I needed 34 feet of
space for the job, plus who wants to clean sawdust indoors), with my sturdy
sawhorses doctored to have supports level with the table saw. With a friend’s help I trimmed two sides to
achieve a 3-inch-square cross-section, then cut off the four corners into an
octagon. All standard procedure I have
used before.
The following weekend I hand-planed, tapered and sanded the
mast into a smooth cylinder. As before,
I was not intent on perfect roundness or smoothness: this is a home-made mast
and a slight hand-hewn look is fine by me.
Here is the new mast along with the old cracked one (third photo). Exaggerated perspective notwithstanding, you
can see how much sturdier the new one is.
The next step was to saw away a 3/8 inch layer from each side of the tip of the gaff (former mainmast) and cut oak pieces that will
be glued there to make the jaws just over 3 inches apart. The four layers of the jaws proper were cut
out of 3/8 inch plywood.
The gaff tip was then rounded so it can pivot around the mast with ease. The various parts are shown in the last photo.

Next steps, hopefully to be completed before the real cold
sets in, will be:
- Laminate the jaw layers in pairs and screw and glue the entire jaw assembly to the gaff. The holes for the parrel line will be drilled after careful fitting.
- Try out the mast in its step and partner.
- Bolt and glue step, partner and bowsprit brace.
- Glue and screw oak pad eyes near the mast top.
- Finish all with epoxy and varnish.
Then it will be time for the standing rigging, making the
sails and fitting the running rigging hardware and lines, if all goes well in
plenty of time before the spring.
No comments:
Post a Comment