I sailed the boat with the new rig this past weekend. I fashioned two
mast crutches that go into the mast steps and partners of the former two
cat ketch masts to carry the longer and heavier mast and other spars.
The standing rigging complicates the setup but once the mast is up
things fall into place. One annoying mishap after we rowed away from
the ramp involved the throat halyard accidentally rolling down its block
until its tail end ended at the masttop. A figure-8 knot stopped it
from coming through completely, and it took many, many attempts to snag
it and pull it down with the boat hook. Well that's not going to happen
again, and if it does I'm a worse fool than I think I am.
But once we got under way, oh man! The wind on Lake Erie was very
fickle, picking up and dying down and constantly changing direction, but
with a decent breeze the boat was flying. Having to work the
jibsheets adds a little extra work when coming about but tacking is
easy, gybes are pretty gentle and the boat much more responsive and
fast. All in all a very good experience. There were no other boats
around so I had no opportunities to get photos so you'll have to take my
word for it!
Saturday, August 2, 2014
Sunday, June 29, 2014
Dry Run
 Since the last post I spent three very enjoyable weeks in Greece, my place of birth, on the ancestral island where I plan to retire at some point. Since I came back I have tried to finish the new rig and try it out on dry land. Here is a photo of it. In the second photo (bottom right) you can see the jib attached to the forestay with jibhanks and its tack clipped to the bowsprit. The stay connecting the bowsprit to the hull is not fastened because the winch is in the way: when launching it will need to be the last thing done before she floats off.
There are a couple of things missing in the first photo. One is reef lines, which I will add before re-launch. The other is the luff toggles (in lieu of mast hoops) of which there are four: they are there but are not fastened, since they bind on the mast and make pulling on the throat halyard to deploying the mainsail difficult. I will have to use a piece of light line tied to the gaff jaws to remedy the situation.

 The other thing I found out while trying the rig is that I should not clip the topping lift to the boom before the sail is up: every time the peak halyard snaphook managed to clip itself to the topping lift and get fouled. That's too bad, because the topping lift could have kept the gaff and boom in place while I deploy the sail. Now I will have to clip it in place afterwards.
The third photo (bottom left) shows yours truly holding on the the mainsheet (notice the rudder is missing, I didn't think it necessary for this tryout). You can see the 4x purchase tackle made of four separate single blocks: one with becket, two plain and one pivot. All are secured with loops of line. Behind the sail you can see the outline of the topping lift.
Remaining steps include repainting the decking and touching up parts of the hull, and building a couple of crutches for the mast that fit where the cat ketch masts used to. Maybe next weekend I can re-launch. We'll see.
boatbuilder
Saturday, May 17, 2014
Gaff and boom
 The next thing was the gaff.
An eyebolt was put through the throat for clipping the throat halyard
on. A metal strap bent into a U-shape
and attached to the underside of the eyebolt was used to secure the mainsail’s throat. The head was laced to the gaff just as the
lugsails of the first rig were laced to their yards, using a series of marline
hitches. Photos of these will be on the next post.
The next thing was the gaff.
An eyebolt was put through the throat for clipping the throat halyard
on. A metal strap bent into a U-shape
and attached to the underside of the eyebolt was used to secure the mainsail’s throat. The head was laced to the gaff just as the
lugsails of the first rig were laced to their yards, using a series of marline
hitches. Photos of these will be on the next post.
I also put on a loop of line
(secured with a steel eye strap on the underside of the gaff) where the peak
halyard will be clipped. This method of
securing rigging with loops of line going around the spar, rather than using
fittings simply screwed into it, was repeated throughout: the shrouds and
forestay, the throat halyard block, the mainsheet blocks, the topping lift and
the boom vang.
 Next came the boom. The
foot of the sail is secured to the boom at the tack with a pin. A
gooseneck screwed to the mast enters the fore end of the boom. The epoxy-reinforced glooseneck hole in the
boom has a mouth with square cross-section to ensure a tight fit and no
twisting. Both are seen in the first photo.
Next came the boom. The
foot of the sail is secured to the boom at the tack with a pin. A
gooseneck screwed to the mast enters the fore end of the boom. The epoxy-reinforced glooseneck hole in the
boom has a mouth with square cross-section to ensure a tight fit and no
twisting. Both are seen in the first photo.
At the clew there is an outhaul line that runs through the aft end of the boom past a sheave
and is secured with a clam cleat. This plus the topping lift, which clips anto a loop of line, are shown in the second photo.
 The third photo shows the boom vang. It starts with a running bowline secured to a wooden cleat, runs through a block tied to the boom, and ties off on a horn cleat. The boom vang will keep the boom on its goose neck, and stop the boom from lifting when sailing downwind, something that gaff sails are prone to.
Tomorrow if all goes well I will put in halyard and sheet cleats and try out the new running rigging.
boatbuilder
New sails and standing rigging
I’ve been quiet for many months. Between travels, lots of work pressure and a
winter that will enter the history books for its horribleness, progress on the
new rig had been slow. Given what the
spring has been like for far too long (last I checked Lake Erie still had some
ice!), there was no real hurry. In a
brief interval between blizzards and polar temperatures (in my unheated garage
epoxy will not cure in very cold weather), I managed to put two coats of epoxy
on the new mast and bowsprit, and shaped and glued/screwed oak pad eyes at the
mast top to anchor the shrouds and forestay.
Then I made the new sails.
The methods of construction are the same as he ones I used for the sails
of the original rig, and include luff and head tape plus reinforcing
multi-layer patches and/or tapes in a total of thirteen places (7 corners and 6
reefing cunninghams). Of course the
sails are different. The mainsail is
about 85 square feet (7.9 m2), and that’s much larger than anything
I have ever made before. It’s a
trapezoid roughly 8 feet (head) by 8 feet (luff) by 11 feet (foot) by 15 feet (leech). It has two rows of reefing points (made with
grommets this time, since buttonhole sewing is really tiresome), and several
grommets along the luff to attach it to the mast with line and dowel
toggles. Curvature was built in with a
dart starting at the tack, and with broadseaming (variable overlaps in the
seams).
The jib is roughly 12.5 feet (luff) by 6.5 feet (foot) by 10.5
feet (leech), which works out to about 35 square feet (3.25 m2). It has one set of reef points and a small
dart starting at the tack. It will be
attached to the forestay with plastic jib hanks. I will show photos when the sails are up.
The next step was to finish the new spars with two coats of
varnish. Then came the standing rigging,
something the original masts did not have—simple but weak, as I found out to my
regret. I first attached anchor plates
to the gunwales, gluing squares of oak just below the rubrails and driving
heavy duty steel screws through to the frames.
Turnbuckles for tightening the standing rigging were added to the anchor
plates. Two steel pad eyes were bolted
through the tip of the bowsprit as well.
Then I ventured into the totally uncharted territory of making the
shrouds and forestay out of Amsteel Blue rope.
To secure them to the mast, hull (shrouds) and bowsprit (forestay) I had
to make eye splice loops; large ones to go around the mast top at the top end,
small ones to go around thimbles at the lower end. There was a line that anchors the bowsprit tip
to the bow as well, and it needed two more eye splices around thimbles. I thought it would be fun to learn a
different way of splicing, the so-called “long bury” type: it involves tapering
the working end of the rope (by unraveling and cutting of half the strands),
then pulling it down the inside of the standing part. The rule of thumb is that the buried tail
needs to be 72 times the diameter of the rope, or 9 inches for 1/8 inch rope. This makes an eye loop as strong as the rope
itself.
 The
eight eye splices took many hours, mostly of self-training with trial and
error. I finally settled on a method
that uses a length of thin wire folded double to pull the tail end of the line
through the middle. Once I got that to
work on the first splice, the rest were much easier. The top loops that go around the mast have
hollow rope sleeves around them to protect from chafing. All eye splices are strengthened (serviced)
with heavy-duty waxed thread. Advice
for would-be splicers: make sure you leave extra rope, since the buried tail
thickens and shortens the rope where the splice is. I didn’t leave quite enough and had to work
hard to make sure the shrouds were not too short.
The
eight eye splices took many hours, mostly of self-training with trial and
error. I finally settled on a method
that uses a length of thin wire folded double to pull the tail end of the line
through the middle. Once I got that to
work on the first splice, the rest were much easier. The top loops that go around the mast have
hollow rope sleeves around them to protect from chafing. All eye splices are strengthened (serviced)
with heavy-duty waxed thread. Advice
for would-be splicers: make sure you leave extra rope, since the buried tail
thickens and shortens the rope where the splice is. I didn’t leave quite enough and had to work
hard to make sure the shrouds were not too short. 
The next post will be about the running rigging.
boatbuilder
Sunday, November 17, 2013
More gaff and mast work

Then I worked on the mast step and partner. I drilled two horizontal 1/4 inch (6 mm) bolt holes through the partner and bulkhead, and two vertical holes for the bolts that will keep in place the oak board securing the mast in the partner (second photo). While I was drilling the port side bolt hole the wood cracked. To deal with the crack and to avoid any more problems I removed 1/4 inch thick pieces from the bottom of the partner and glued plywood there: you can see the plywood layer if you look carefully.

I then put the mast step down on the keel batten with bronze nails, epoxy and stainless steel screws, and secured the partner to the main bulkhead with epoxy and two long lag bolts, with washers and nuts on the other side of the bulkhead. Then came the time to try out the mast in its place. As it turns out I had not accounted for the rake of the mast ahead of time (it was hard to do anyway), so the mast could not go all the way in and the oak board going across could not close. I worked on the partner with the wood rasp, testing the fit several times. Like all hand work it took a while, but now the mast fits in its partner and step. Stepping it several times proved to me that it is easily doable by one person.
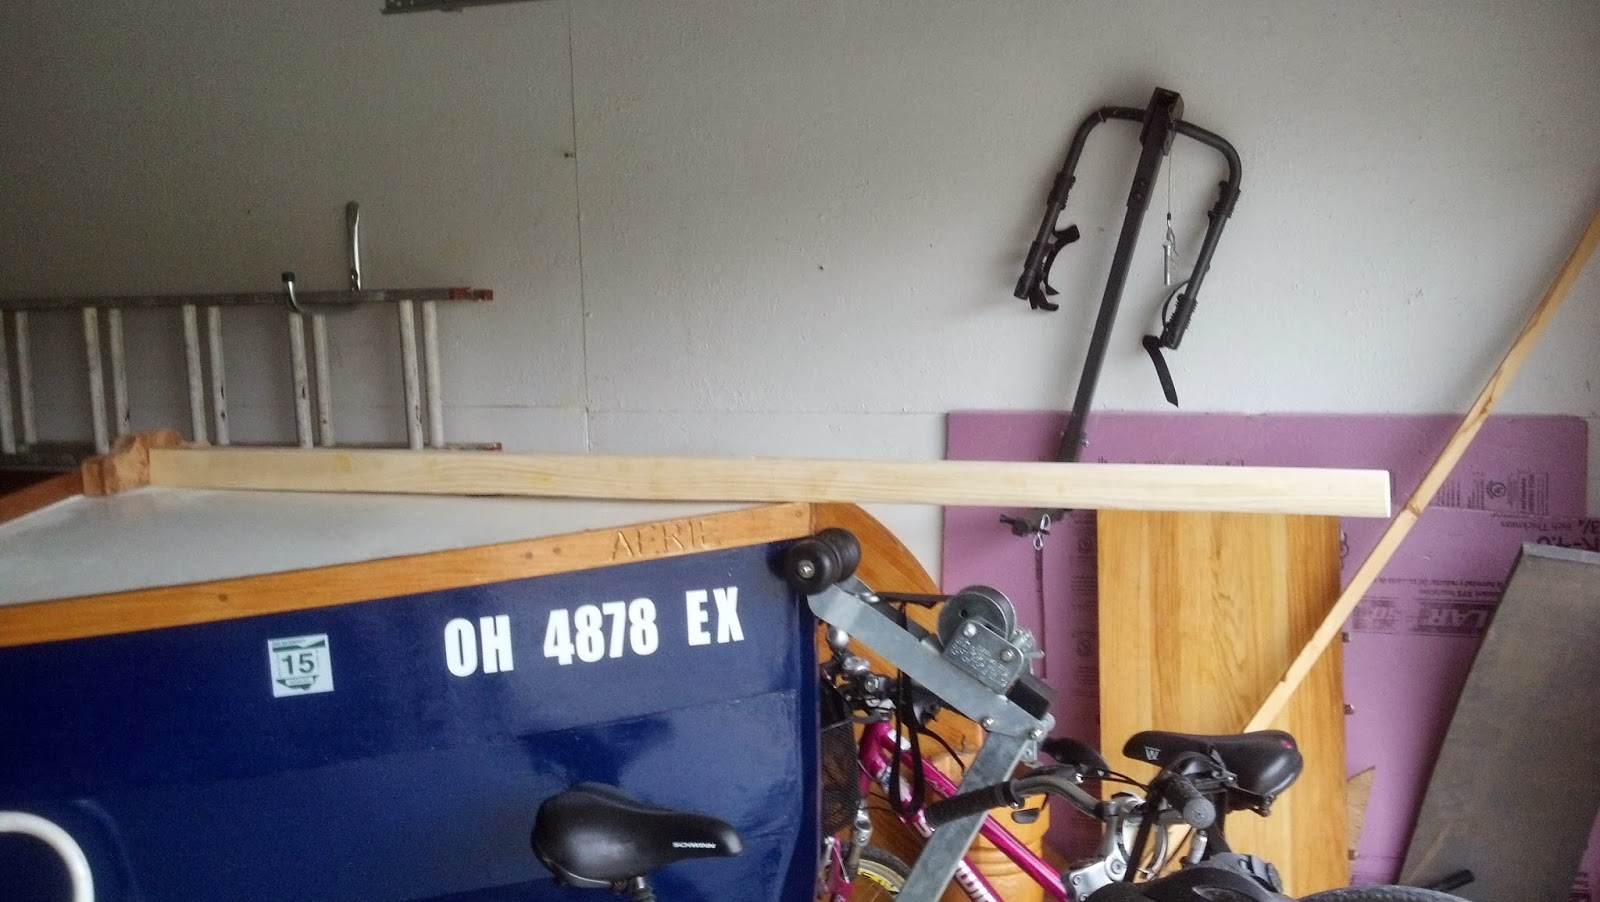
 The last photo shows the new mast and bowsprit. They still need some hardware and finishing, but I was pleasantly surprised at how straight a mast made from a couple of 2x4s turned out to be. It is a little awkward and definitely heavier than the previous ones (as it needs to be) but at least it does not need to be vertically dropped through a partner hole, something that would probably hurt my back at my age. I can shoulder it and walk it into place pretty easily.
I have already cut and shaped the wooden pad eyes for shrouds, and will be working on sails and standing rigging soon.
Until the next post,
boatbuilder
Saturday, November 2, 2013
Mast, step, partner, gaff
I bought SPF (spruce/pine/fir) 16-foot studs for their easy
availability and low weight, which is a higher priority than high strength and
stiffness, since the mast is stayed. Low
cost is a nice extra. I chose two that
were as straight and knot-free as possible.
Taking them home was a bit of an adventure, involving foam rubber, duct
tape, cinch straps, staples and a red rag, but all went well. Next I glued them together with epoxy.

I also cut and laminated the parts of the mast partner,
which may be sturdier than it needs to be but I wanted plenty of strength for
bolting to the bulkhead. The mast step
was laminated from a layer of cedar board and two of 3/8 inch plywood (second photo).
 Then I set up the table saw outdoors (I needed 34 feet of
space for the job, plus who wants to clean sawdust indoors), with my sturdy
sawhorses doctored to have supports level with the table saw. With a friend’s help I trimmed two sides to
achieve a 3-inch-square cross-section, then cut off the four corners into an
octagon. All standard procedure I have
used before.
Then I set up the table saw outdoors (I needed 34 feet of
space for the job, plus who wants to clean sawdust indoors), with my sturdy
sawhorses doctored to have supports level with the table saw. With a friend’s help I trimmed two sides to
achieve a 3-inch-square cross-section, then cut off the four corners into an
octagon. All standard procedure I have
used before.
The following weekend I hand-planed, tapered and sanded the
mast into a smooth cylinder. As before,
I was not intent on perfect roundness or smoothness: this is a home-made mast
and a slight hand-hewn look is fine by me.
Here is the new mast along with the old cracked one (third photo). Exaggerated perspective notwithstanding, you
can see how much sturdier the new one is.
The next step was to saw away a 3/8 inch layer from each side of the tip of the gaff (former mainmast) and cut oak pieces that will
be glued there to make the jaws just over 3 inches apart. The four layers of the jaws proper were cut
out of 3/8 inch plywood.
The gaff tip was then rounded so it can pivot around the mast with ease. The various parts are shown in the last photo.

Next steps, hopefully to be completed before the real cold
sets in, will be:
- Laminate the jaw layers in pairs and screw and glue the entire jaw assembly to the gaff. The holes for the parrel line will be drilled after careful fitting.
- Try out the mast in its step and partner.
- Bolt and glue step, partner and bowsprit brace.
- Glue and screw oak pad eyes near the mast top.
- Finish all with epoxy and varnish.
Then it will be time for the standing rigging, making the
sails and fitting the running rigging hardware and lines, if all goes well in
plenty of time before the spring.
Subscribe to:
Posts (Atom)